
Landscape lighting design styles are distinct approaches that combine fixture types, placement techniques, and light layers to create functional, safe, and visually compelling outdoor environments. The best designs use four core lighting layers: ambient, task, accent, and decorative. Each layer serves a specific purpose, and combining them is what separates a forgettable yard from a property that looks stunning after dark. Whether you manage a single-family home or a multi-unit property, understanding the types of landscape lighting design styles gives you a clear framework for making smart decisions.
1. the four lighting layers every design needs
Proper layering of ambient, task, accent, and decorative lighting transforms any outdoor space into a balanced, visually interesting environment. Think of these layers the way an interior designer thinks about a room. Each one does a different job, and none of them works as well alone.
- Ambient lighting provides overall illumination. Post lights, wall-mounted lanterns, and overhead string lights are the most common fixtures. This layer sets the mood and gives the space a livable feel.
- Task lighting handles safety and function. Path lights, step lights, and deck lights fall here. They guide movement and reduce trip hazards.
- Accent lighting draws attention to specific features. Uplights, spotlights, and wall grazers highlight trees, sculptures, and architectural details.
- Decorative lighting adds personality. String lights, pendant lanterns, and Edison bulb strands create warmth and a sense of occasion.
Pro Tip: Start your design with task lighting to cover safety first, then build accent and decorative layers on top. Ambient comes last and ties everything together.
2. path and spread lights for walkways
Path lighting is the most common entry point into outdoor lighting styles, and it is also the most misused. Fixtures placed too close together create a runway effect. Path lights should be spaced 3–5 meters apart to achieve 1–5 lux of illumination on walkways without glare. That spacing creates a natural rhythm that guides the eye without overwhelming it.
Spread lights cast a wider, lower beam than traditional path lights. They work well in garden beds and along borders where you want soft illumination across ground cover rather than a defined point of light. Both fixture types typically require IP65-rated protection to handle low-pressure water exposure from rain and irrigation systems.
3. uplights and spotlights for drama and depth
Uplights and spotlights create the vertical drama that makes a property look professionally designed. Placing an uplight at the base of a mature oak or a stone column draws the eye upward and adds dimension to what would otherwise be a flat, dark yard. This technique is one of the most recognized in architectural lighting concepts.
Beam spread is the key variable here. Narrow beams of 6–20 degrees work for precise feature highlighting, such as a flagpole or a sculpture. Wide beams of 120–180 degrees suit ambient contour lighting across a broad garden bed or lawn area. Choosing the wrong beam spread is the most common technical mistake homeowners make when installing their own fixtures.
4. well lights and hardscape lighting
Well lights are in-ground fixtures that sit flush with the surface. They are ideal for illuminating trees from below, lighting flagpoles, or creating drama under a pergola without any visible hardware. Because they sit in the ground, they require IP67-rated fixtures to prevent water ingress from standing water or heavy rain.
Hardscape lights integrate directly into retaining walls, steps, and patio edges. They provide low-level illumination that defines the shape of a space without flooding it with light. This style works especially well on properties with stone or brick features, where the light grazes the texture and creates shadow patterns that add visual interest.
5. deck and patio lighting styles
Deck and patio lighting extends your usable outdoor living area well past sunset. Well-planned lighting creates psychological comfort by eliminating dark corners and making a space feel secure and welcoming. The best deck designs combine recessed step lights, post cap lights, and under-rail strip lighting to create layered illumination at multiple heights.
String lights remain the most popular decorative choice for patios. They add warmth and a casual atmosphere that suits everything from a backyard barbecue to an outdoor dinner party. For a more polished look, pendant lanterns hung from a pergola structure give the same warmth with a more intentional, designed feel.
Pro Tip: Use warm white bulbs (2700K–3000K) on decks and patios. Cool white light reads as clinical and harsh in social spaces.
6. moonlighting: the professional's favorite technique
Moonlighting is one of the most effective and least understood professional lighting techniques. It involves mounting fixtures 20–30 feet high in trees to cast downward light that mimics natural moonlight filtering through branches. The result is soft, dappled light on the ground that looks completely natural.
This technique works on large residential properties and estates where mature trees are already present. It creates a sense of depth and scale that no ground-level fixture can replicate. Moonlighting also reduces glare because the light source is above the sightline, which makes it one of the most comfortable outdoor lighting styles for entertaining spaces.
7. wall grazing and wall washing
Wall grazing and wall washing are two distinct techniques that are often confused. Wall grazing places fixtures very close to a surface, typically 30 cm away with beam spreads of 10–60 degrees, to emphasize texture. Rough stone, brick, and wood siding all respond beautifully to grazing because the light rakes across the surface and creates shadow relief.
Wall washing, by contrast, places fixtures farther away to flood a surface with even light. It minimizes texture and creates a clean, bright backdrop. Wall washing suits smooth stucco or painted surfaces where you want color and brightness rather than texture. Choosing between the two depends entirely on the surface material and the visual effect you want.
8. silhouetting and shadowing for dramatic effects
Silhouetting places a light source behind a plant or object, between the feature and the wall behind it. The result is a dark shape against a bright background. This technique works best with plants that have strong, graphic forms, such as ornamental grasses, agave, or Japanese maples.
Shadowing is the reverse. The light source sits in front of the plant and casts its shadow onto a wall or fence behind it. Both techniques are low-cost and high-impact. They require only one or two fixtures per feature and create a level of visual drama that far exceeds their installation cost.
9. lighting styles by property type
Different types of properties for landscape lighting call for different design priorities. The table below outlines the most effective approach by setting.
| Property Type | Best Lighting Style | Key Fixtures |
|---|---|---|
| Small residential yard | Task and decorative | Path lights, string lights, step lights |
| Large estate or acreage | Layered ambient and accent | Uplights, moonlighting, well lights |
| Pool and water features | Underwater and well lights | Submersible LEDs, in-ground well lights |
| Garden beds and borders | Grazing and silhouette | Spread lights, spotlights |
| Hardscape and patio | Integrated low-level lighting | Deck lights, hardscape step lights |
| Environmentally sensitive areas | Dark-sky compliant fixtures | Shielded, downward-facing LEDs |
Dark-sky compliant lighting reduces light pollution and protects wildlife, which matters most for properties near sensitive habitats, coastal areas, or rural settings. These fixtures direct light downward and use shielding to prevent sky glow.
10. smart controls and energy efficiency
Smart technology integration is now a standard feature in modern landscape lighting. Smart controls and scheduling allow homeowners to tailor lighting scenes dynamically using LED low-voltage systems. You can set different scenes for entertaining, security, and everyday use, all from a smartphone app.
LED low-voltage systems are the current standard for residential landscape lighting. They consume significantly less energy than halogen systems and last far longer. Smart timers, motion sensors, and dimmer controls add another layer of efficiency by ensuring lights run only when needed.
11. keeping your system consistent and maintainable
Using consistent fixture families simplifies maintenance and future system expansions by keeping components uniform and easy to replace. Mixing brands and styles complicates repairs and disrupts visual harmony across the property. This is a practical consideration that most homeowners overlook until they need to replace a single fixture and cannot find a match.
Plan for expansion from the start. Install a transformer with extra capacity, run conduit to areas you might light later, and document your fixture layout. A well-documented system saves hours of troubleshooting when bulbs fail or zones stop working.
Pro Tip: Take photos of your fixture placements and transformer wiring before covering trenches. Store them with your home maintenance records.
Key takeaways
The most effective outdoor lighting designs layer ambient, task, accent, and decorative styles to serve both function and aesthetics across every zone of a property.
| Point | Details |
|---|---|
| Layer all four lighting types | Ambient, task, accent, and decorative each serve a distinct purpose and work best together. |
| Match fixtures to property type | Small yards need task and decorative focus; large estates benefit from layered accent and ambient designs. |
| Control beam spread precisely | Use 6–20 degree beams for features and 120–180 degree beams for broad ambient coverage. |
| Use IP-rated fixtures correctly | Well lights need IP67; path lights need IP65 for long-term outdoor durability. |
| Plan for consistency and growth | Stick to one fixture family and install extra transformer capacity for future additions. |
What i've learned after years of watching lighting projects go wrong
Most homeowners over-light their properties. They install fixtures in every corner, flood every surface, and end up with a yard that looks like a parking lot at night. Over-lighting creates harsh glare and destroys the depth and contrast that make a property look dramatic and intentional. The fix is selective highlighting: pick your three or four best features and light those well.
The viewing angle matters more than most people realize. A fixture that looks perfect from the street can blind anyone sitting on the patio. The viewing angle effect guides both fixture selection and aiming, and it is the variable most often ignored in DIY installations. Walk your property from every angle, including from inside the house looking out, before you finalize any fixture placement.
My other strong opinion: decorative lighting is not optional. Homeowners treat string lights and lanterns as an afterthought, but they are what make a space feel lived-in and warm rather than surveilled. A yard lit only with uplights and path lights feels like a security installation. Add one decorative layer and the whole space shifts.
Finally, use design software before you buy a single fixture. Seeing a photorealistic preview of your property at night changes every decision you make. You will move fixtures, change beam spreads, and rethink entire zones before spending a dollar on hardware. That is the smartest investment in the process.
— Chris
See your lighting design before you install a single fixture
Choosing between moonlighting, wall grazing, and silhouette techniques is much easier when you can see the result before committing to a layout. Lumencastapp transforms a standard daytime photo of your property into a photorealistic nighttime mockup in under 60 seconds.
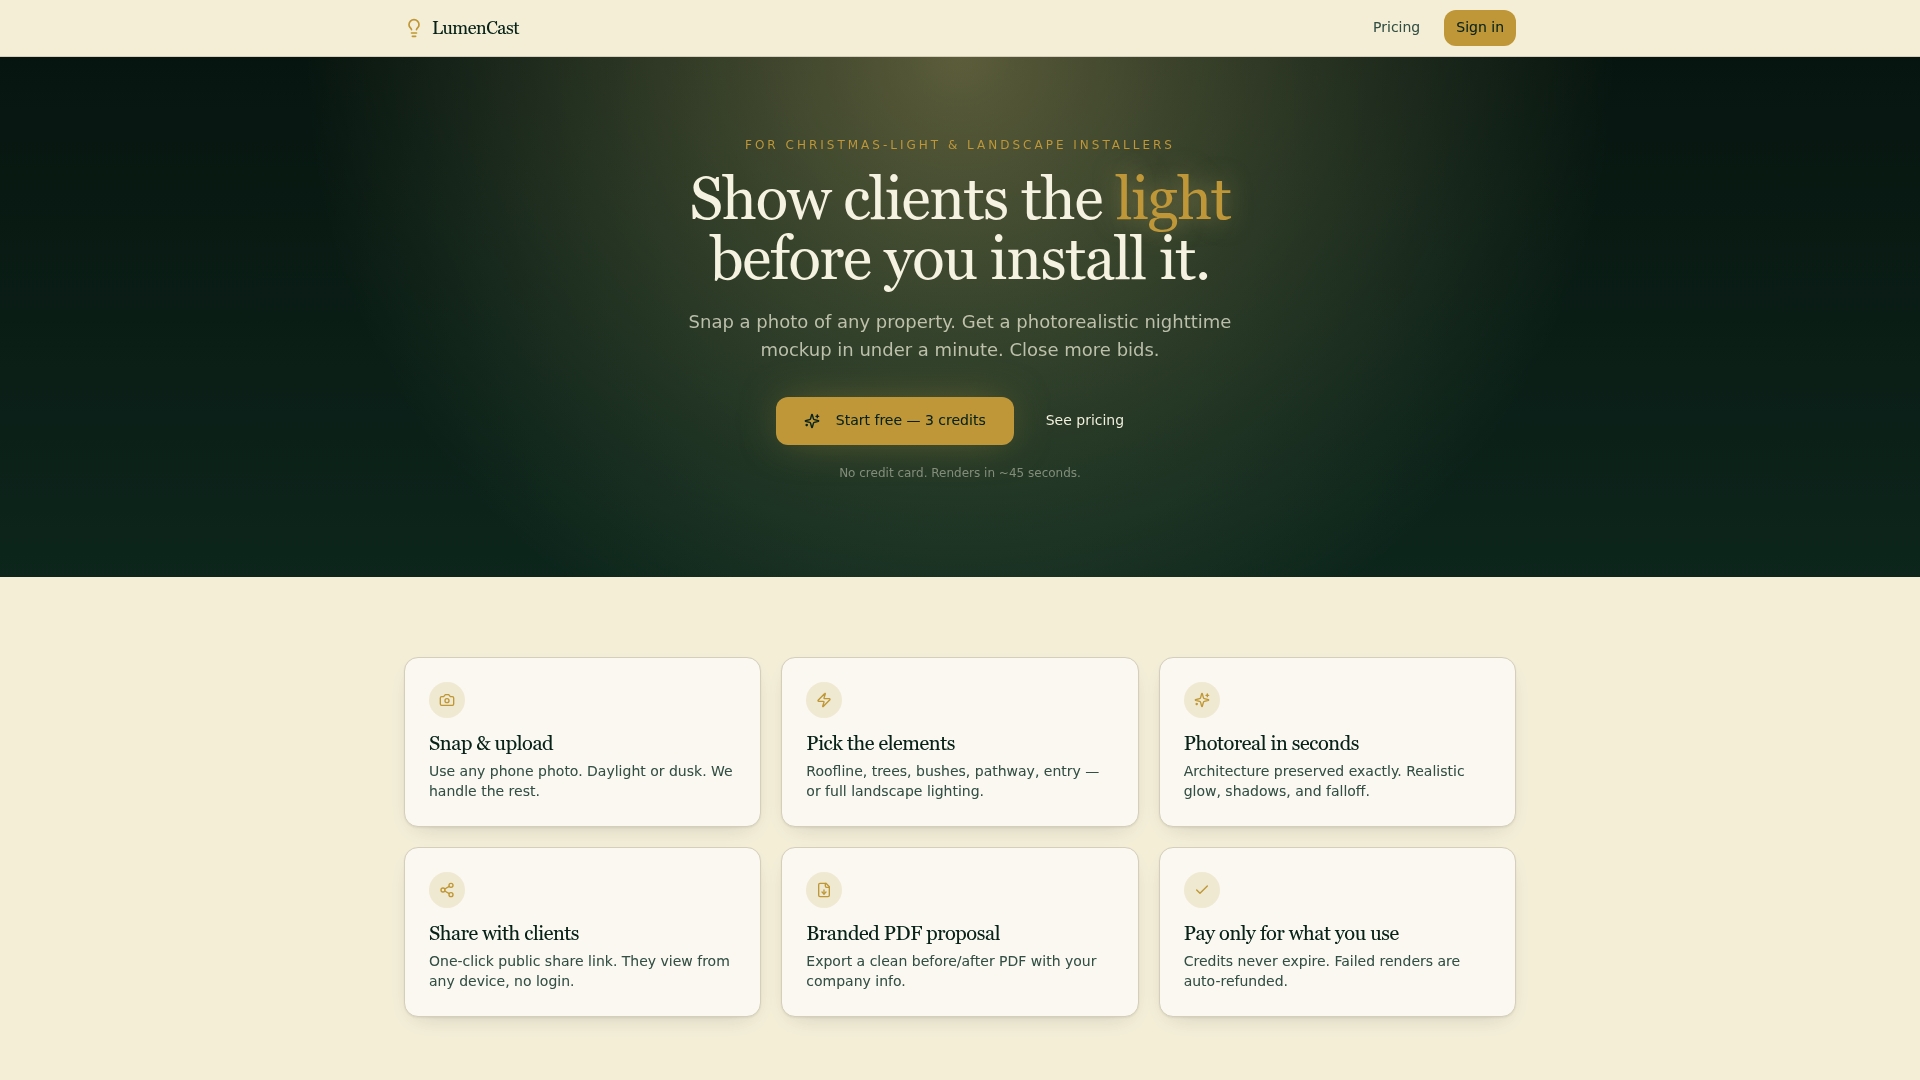
Property managers and homeowners use Lumencastapp to compare outdoor lighting styles side by side, build client-ready proposals, and make confident decisions without guesswork. The landscape lighting design software handles everything from pathway layouts to tree uplighting previews. You can also use the lighting budget calculator to estimate project costs before talking to a contractor. Start with a sample project to see exactly what the AI generates, then explore subscription options that fit your budget.
FAQ
What are the main types of landscape lighting design styles?
The four main styles are ambient, task, accent, and decorative lighting. Professional designs layer all four to balance safety, function, and visual appeal.
How far apart should path lights be spaced?
Path lights should be spaced 3–5 meters apart to achieve safe illumination of 1–5 lux without creating a glare-heavy runway effect along walkways.
What is moonlighting in landscape lighting?
Moonlighting mounts fixtures 20–30 feet high in trees to cast soft, natural-looking downlight that mimics moonlight filtering through branches.
How do i choose between wall grazing and wall washing?
Use wall grazing on rough or textured surfaces like stone and brick to emphasize texture. Use wall washing on smooth surfaces like stucco when you want even, bright illumination.
Do i need dark-sky compliant fixtures for my property?
Dark-sky compliant fixtures are most important for properties near sensitive habitats, coastal zones, or rural areas where light pollution affects wildlife and neighbors.