Designing an outdoor lighting plan is the process of strategically illuminating your property to improve safety, enhance curb appeal, and create a welcoming atmosphere after dark. Done right, a well-built landscape lighting design transforms your yard from forgettable to stunning without a single wasted fixture. This guide walks you through zoning your property, layering light types, choosing the right fixtures, and placing everything with precision. Whether you are starting from scratch or fixing a plan that never quite worked, these outdoor lighting design tips will get you to a result you are proud of.
How do you design an outdoor lighting plan step by step?
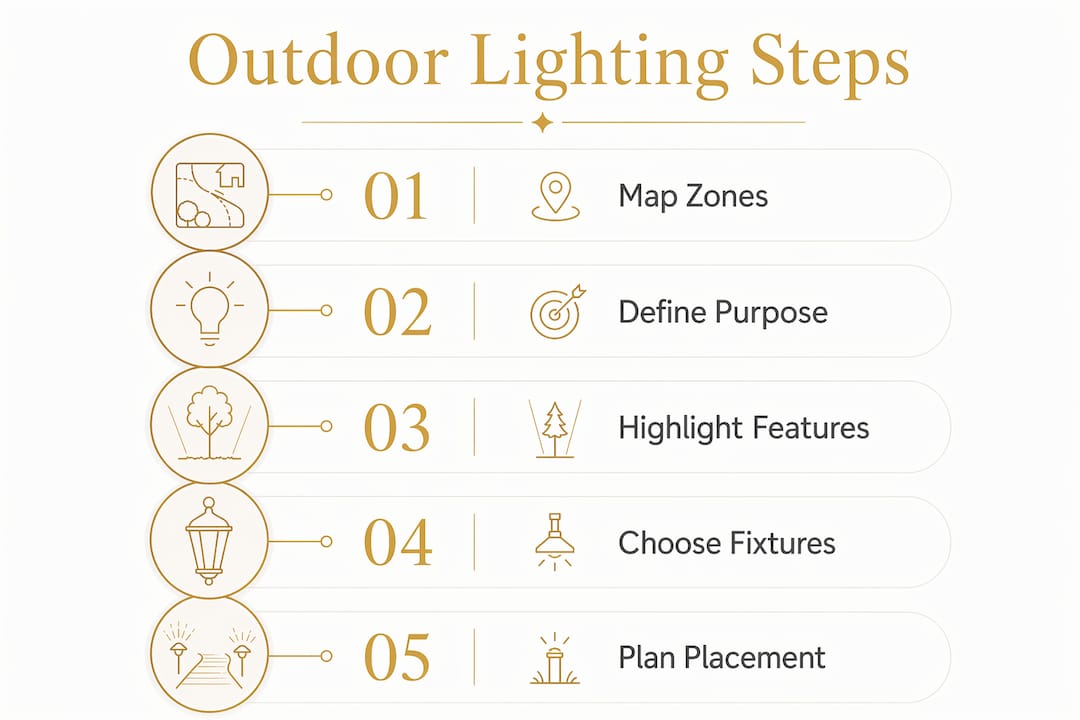
The most effective way to design an outdoor lighting plan starts with dividing your property into purposeful zones before you ever touch a fixture catalog. Zoning first guides every decision that follows, from fixture type to wire routing, and keeps your final result looking intentional rather than scattered.
Step 1: map your property zones
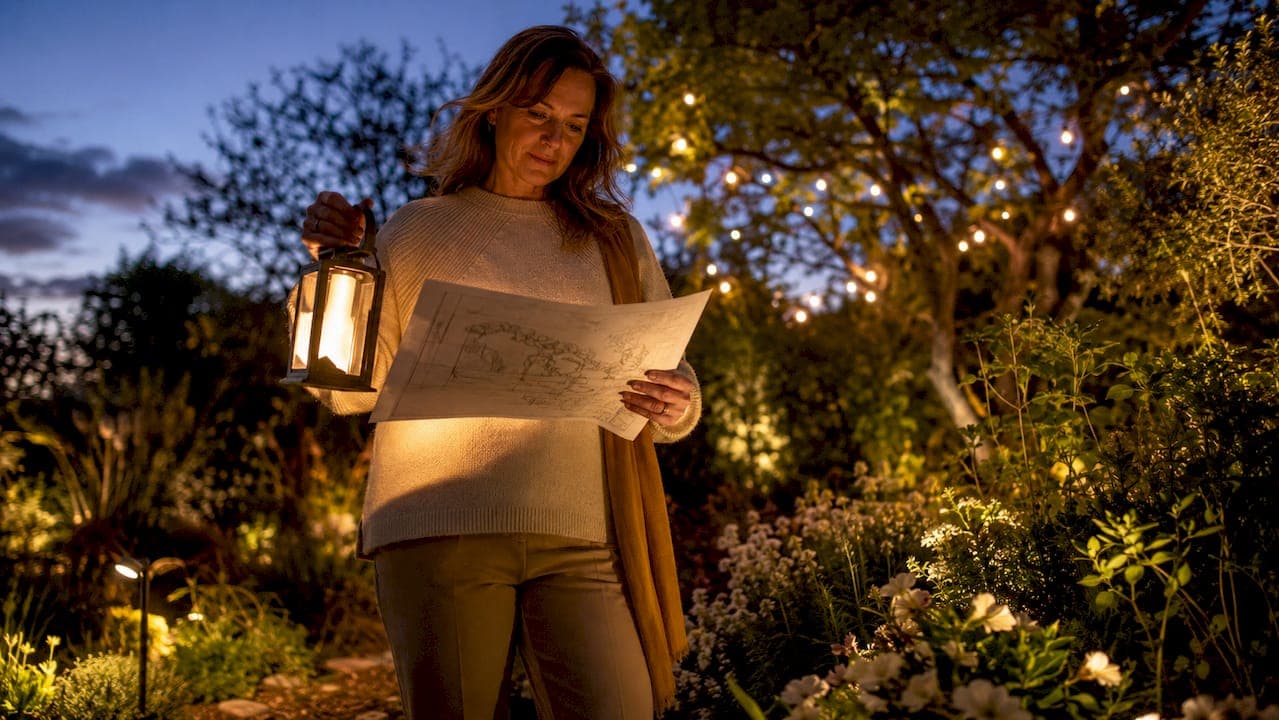
Walk your property at night with a flashlight and a simple sketch. Mark four core zones: the front yard and street-facing facade, entry and porch areas, pathways and driveways, and the backyard or patio. Each zone has a different job. The front yard creates first impressions. The entry provides safety and welcome. Pathways guide foot traffic. The backyard supports relaxation and entertaining.
Step 2: define the purpose of each zone
Once you have your zones mapped, assign a primary function to each. Ask yourself whether the zone needs safety lighting, decorative accent lighting, or both. A driveway needs enough brightness to navigate safely. A garden bed near the patio calls for soft accent light that highlights texture without blinding anyone seated nearby.
Step 3: note existing features worth highlighting
Identify trees, architectural details, water features, and garden focal points within each zone. These become your accent lighting targets. A mature oak tree, a stone wall, or a front door with interesting trim all reward careful lighting. Noting them now prevents the common mistake of buying fixtures before knowing what you actually want to illuminate.
Step 4: choose fixtures after zoning is complete
Only after your zones and purposes are defined should you open a product catalog. This sequence prevents fixture-first thinking, which is one of the most common design mistakes in residential outdoor lighting. Buying a spotlight before knowing where it goes almost always leads to glare, wasted money, or both.
Pro Tip: Photograph your property from the street and from the backyard before you plan anything. These photos become your design canvas and help you spot features you overlook when walking the space.
What types of outdoor lighting layers should you include?
Layered lighting creates warmth and depth, transforming yards into inviting outdoor rooms instead of isolated spotlights. Every effective landscape lighting design uses three distinct layers, each serving a different purpose.
Layer 1: Functional and Wayfinding Light This layer covers safety and navigation. It includes path lights along walkways, step lights on stairs, and floodlights over driveways or garage areas. Without this layer, your yard looks beautiful but becomes a tripping hazard after dark.
Layer 2: Accent Light Accent lighting draws attention to specific features. Spotlights on trees, uplights on architectural columns, and grazing lights across stone walls all fall into this category. This layer is where personality enters the design. It is also where most homeowners underinvest, leaving their yards looking flat.
Layer 3: Ambient and Atmosphere Light This layer softens the overall space and makes it feel livable. String lights over a patio, lanterns near a seating area, and low-glow bollard lights around a fire pit all contribute to this layer. Ambient light is what makes guests want to stay outside longer.
Common fixtures by layer:
- Functional layer: Path lights, step lights, floodlights, wall-mounted sconces
- Accent layer: Spotlights, uplights, well lights, directional bullet fixtures
- Ambient layer: String lights, lanterns, bollard lights, deck post caps
Good outdoor lighting design reveals and enhances features without flooding the space with uniform brightness. Uniform brightness is the enemy of atmosphere. Contrast between lit and unlit areas is what creates visual interest.
Which fixtures and beam angles work best for each effect?
Choosing the right fixture type and beam angle is where landscape lighting design gets technical, but the logic is straightforward once you understand the basics.
| Effect | Fixture Type | Beam Angle | Best Application |
|---|---|---|---|
| Uplighting | Bullet spotlight, well light | 10°–15° | Trees, columns, tall shrubs |
| Downlighting | Overhead spot, flood | 40°–60° | Patios, driveways, wide beds |
| Moonlighting | Flood mounted high in tree | 40°–60° | Naturalistic dappled effect |
| Grazing | Narrow spot placed close | 10°–20° | Stone walls, textured facades |
| Path lighting | Low-profile path light | 120°+ spread | Walkways, borders |
Beam angle and fixture height must be matched to the desired effect for balanced coverage. A 10°–15° beam is ideal for narrow accent work on a single tree trunk or column. A 40°–60° beam spreads wide enough for moonlighting effects or illuminating a large patio from above.
For trees, avoid single-point lighting. Using 2–3 fixtures per large tree at different angles eliminates harsh shadows and creates a natural, dimensional look. A single spotlight aimed straight up at a tree creates a dramatic but flat cone of light. Two or three fixtures placed at different angles around the base produce depth and movement.
Pro Tip: Position fixtures so the light source itself is never visible from normal viewing angles. Concealing fixtures by shielding, recessing, or using louvers keeps the focus on what is illuminated, not on the hardware.
Concealing fixtures through shielding, recessing, or louvers prevents visible glare and improves visual comfort across the entire space.
What are the best practices for placement, spacing, and wiring?
Placement and spacing determine whether your lighting looks professional or patchy. The technical side of wiring determines whether it is safe and code-compliant.
Pathway and walkway spacing
Space path lights 6–8 feet apart in a staggered zigzag pattern along both sides of a walkway. This creates overlapping light pools that guide foot traffic naturally without creating a runway effect. Placing lights on only one side or spacing them too far apart leaves dark gaps that defeat the safety purpose.
Facade and accent placement
For uplighting a facade or tree, place fixtures close enough to the base that the beam covers the full height of the feature. Fixtures placed too far away create a bright spot at the bottom and fade before reaching the top. Aim for a 45-degree angle between the fixture and the top of the feature as a starting point, then adjust based on the actual beam spread.
Wiring layout and transformer placement
Low-voltage systems are the standard for residential landscape lighting. Transformers should be mounted 12–20 inches above finished grade, using weatherproof, GFCI-protected receptacles with drip loops. Place the transformer near an outdoor outlet and as close to the center of your lighting zones as practical to minimize wire runs.
Line-voltage cables require deeper trenches and inspections. Low-voltage systems have shallower trenching requirements, but local codes vary. Always work with a licensed electrician for any mains-voltage connections.
Regulatory considerations
Outdoor lighting must comply with local codes limiting glare, light trespass, and fixture height. Many jurisdictions, including Spokane's municipal code, require full cut-off fixtures with uplighting constrained to accent use and height limits under 16 feet. Check your local ordinances before finalizing fixture choices.
Numbered checklist for placement planning:
- Confirm transformer location and outlet access before laying out wire runs
- Mark all fixture positions with stakes before digging or mounting
- Test beam angles with a handheld flashlight at night before committing to placement
- Route wire runs along natural edges: fence lines, bed borders, and walkway edges
- Leave slack in wire connections to allow for future adjustments
What mistakes ruin an outdoor lighting plan?
Most outdoor lighting plans fail for the same predictable reasons. Knowing them in advance saves you time, money, and a lot of frustration.
- Fixture-first thinking: Buying fixtures before defining zones and purposes leads to mismatched light levels and wasted product. Start with property needs and zones, not the product catalog.
- Over-illumination: More light is not better light. Flooding every surface with brightness destroys contrast and eliminates the atmosphere that makes outdoor spaces feel inviting.
- Visible fixtures: A fixture you can see directly creates glare. Glare causes eye strain and draws attention away from the features you want to highlight.
- Ignoring the ambient layer: Most homeowners install functional and accent lights but skip ambient lighting entirely. The result feels like a parking lot, not a backyard retreat.
- Hot spots and dark gaps: These appear when fixtures are spaced inconsistently or beam angles are not matched to the coverage area. Careful placement combined with correct beam angle adjustments prevents both problems.
Pro Tip: Walk your finished lighting plan at night from multiple angles, including from the street, from the patio, and from inside the house looking out. Each viewpoint reveals glare or gaps you cannot see from a single position.
Key takeaways
A well-executed outdoor lighting plan requires zoning first, layering three distinct light types, and matching fixtures to specific effects before a single wire is run.
| Point | Details |
|---|---|
| Zone before you buy | Divide your property into front yard, entry, pathway, and backyard zones before selecting any fixtures. |
| Use three lighting layers | Combine functional, accent, and ambient layers to create depth, safety, and atmosphere together. |
| Match beam angles to effects | Use 10°–15° beams for accent work and 40°–60° beams for downlighting and moonlighting effects. |
| Space path lights correctly | Stagger path lights 6–8 feet apart in a zigzag pattern to create smooth, gap-free walkway illumination. |
| Conceal fixtures to reduce glare | Shield, recess, or louver fixtures so the light source itself is never visible from normal viewing angles. |
Why most homeowners get outdoor lighting backwards
I have reviewed hundreds of residential lighting projects, and the pattern is almost always the same. Homeowners fall in love with a fixture at a home improvement store, buy six of them, and then try to figure out where they go. The result is a yard that looks like it was lit by committee: bright in random spots, dark where it matters, and full of glare at eye level.
The fix is not a better fixture. The fix is a better sequence. Zone first, layer second, select fixtures third. When you follow that order, even modest fixtures produce results that look expensive and intentional.
The other thing I have seen consistently undervalued is fixture concealment. Homeowners spend real money on quality fixtures and then mount them where every guest can stare directly into the bulb. The light source should never be the thing you notice. The illuminated tree, the glowing stone wall, the softly lit patio: those are the subjects. The fixture is just the tool.
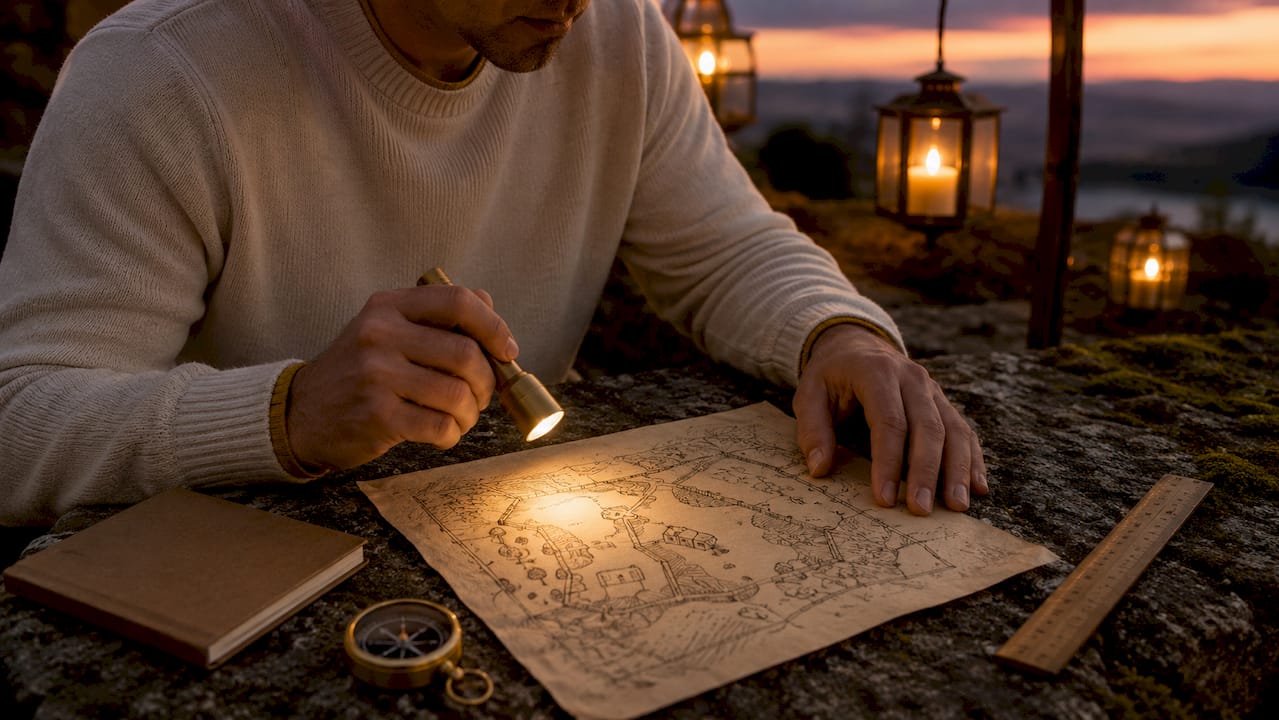
AI visualization tools have changed how I approach early planning conversations. Seeing a photorealistic mockup of a property at night, before a single fixture is installed, removes the guesswork that causes most homeowners to second-guess their decisions mid-project. That confidence at the planning stage is worth more than any single fixture upgrade.
— Chris
See your lighting plan before you install a single fixture
Committing to a full outdoor lighting installation without seeing the result first is the fastest way to end up with a plan you want to redo six months later. Lumencastapp solves that problem directly.
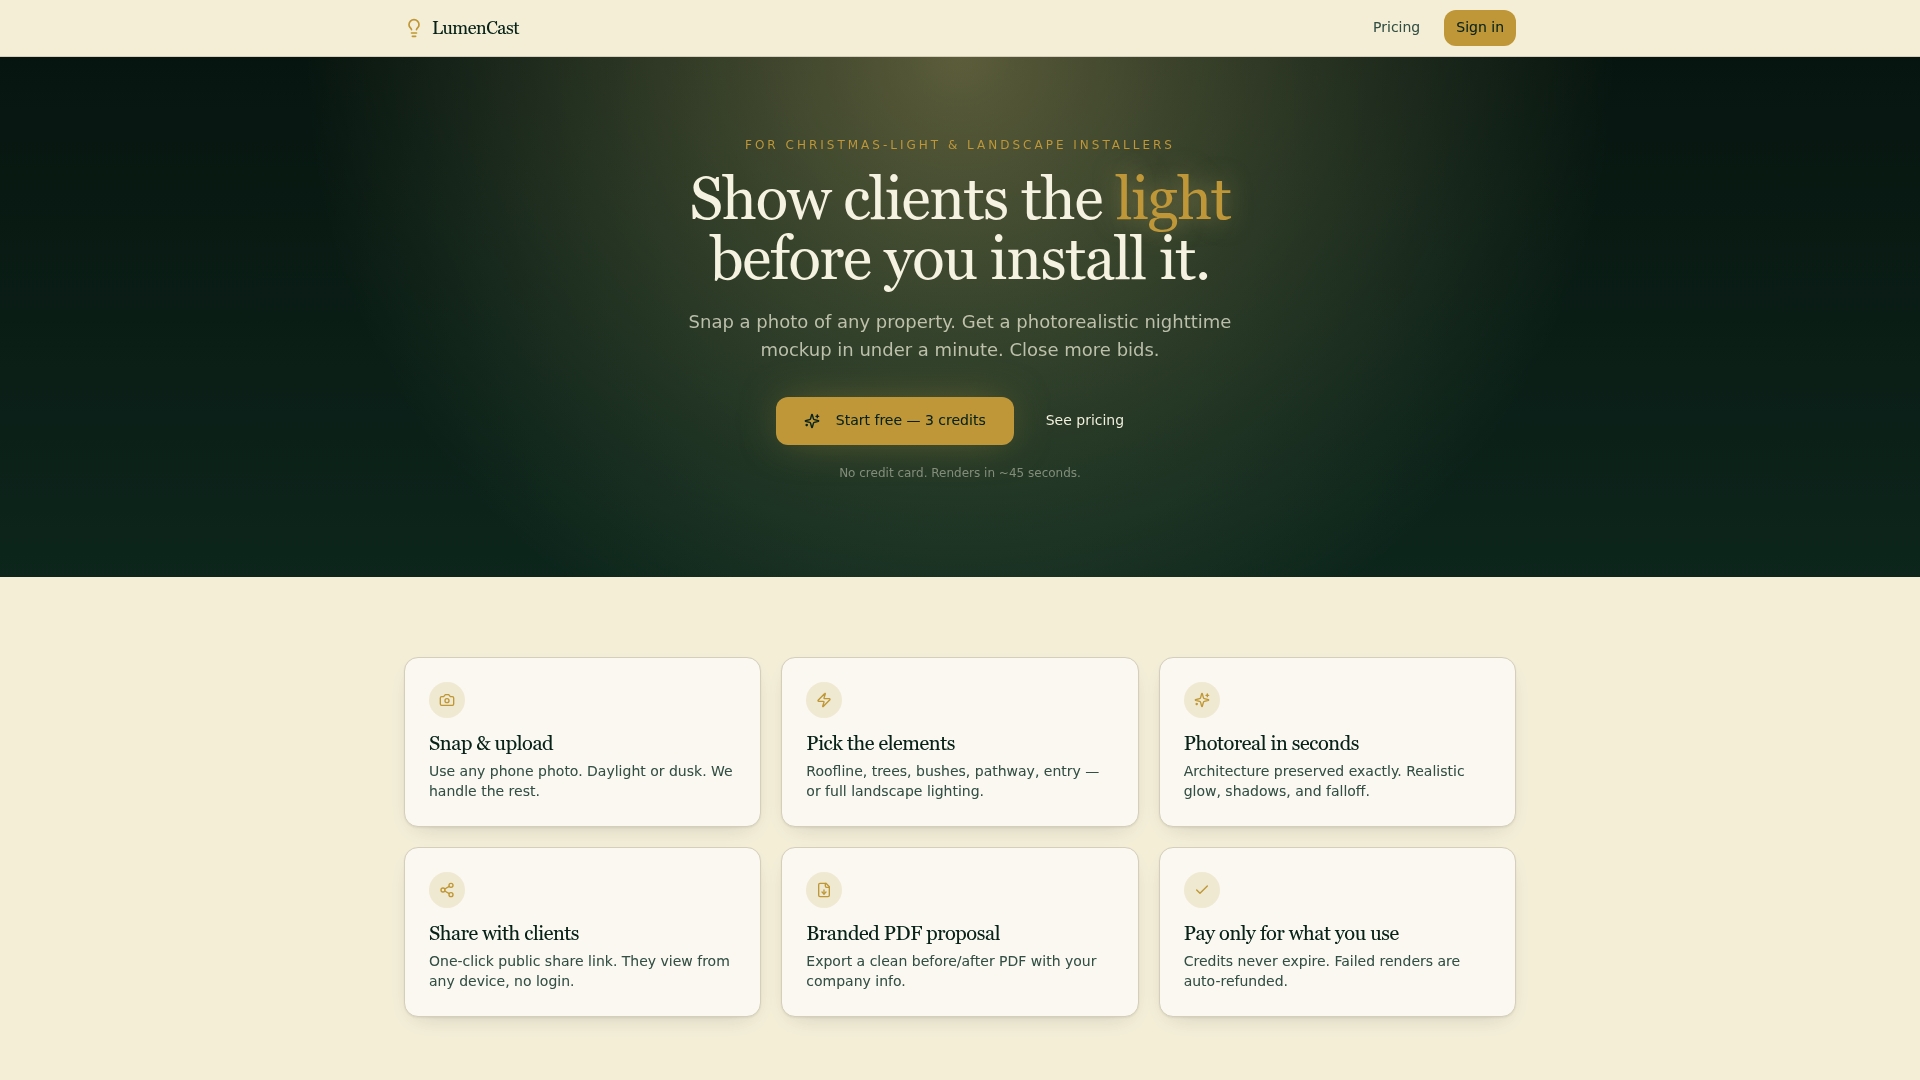
Lumencastapp is AI-powered landscape lighting design software that transforms a daytime photo of your property into a photorealistic nighttime mockup in under 60 seconds. You can visualize pathway lighting, tree uplighting, facade accents, and ambient layers all at once, before any trenching or mounting begins. Use the lighting budget calculator to estimate project costs alongside your visual plan. Explore Lumencastapp pricing and start your first mockup today.
FAQ
What is the first step to design an outdoor lighting plan?
The first step is dividing your property into zones: front yard, entry, pathways, and backyard. Zoning before fixture selection produces a more intentional, clutter-free result.
How far apart should outdoor path lights be spaced?
Path lights should be spaced 6–8 feet apart in a staggered zigzag pattern along both sides of a walkway. This creates overlapping light pools that guide foot traffic without creating a harsh runway effect.
What beam angle is best for uplighting trees?
A narrow beam angle of 10°–15° works best for uplighting individual trees or columns. For large trees, use 2–3 fixtures at different angles around the base to create depth and avoid flat, shadow-heavy results.
Do outdoor lighting installations require permits?
Line-voltage outdoor lighting typically requires permits and inspections in most jurisdictions. Low-voltage landscape lighting systems generally have fewer requirements, but local codes vary, so check with your municipality before installation.
How do i prevent glare in my outdoor lighting design?
Conceal fixtures using shields, louvers, or recessed mounting so the light source is never directly visible from normal viewing angles. Full cut-off fixtures that direct light downward also reduce glare and comply with most local light pollution ordinances.